Showing posts with label step-by-step. Show all posts

Friday, 25 July 2014

Reverse accent nail- step-by-step

Hello everybody!

How are you today? Getting ready for a new weekend?  I can't believe how fast time flies.

I did this mani some time ago, but I was very caught up with family, going out with friends and so on .. so unfortunatelly I wasn't able to post it sooner.

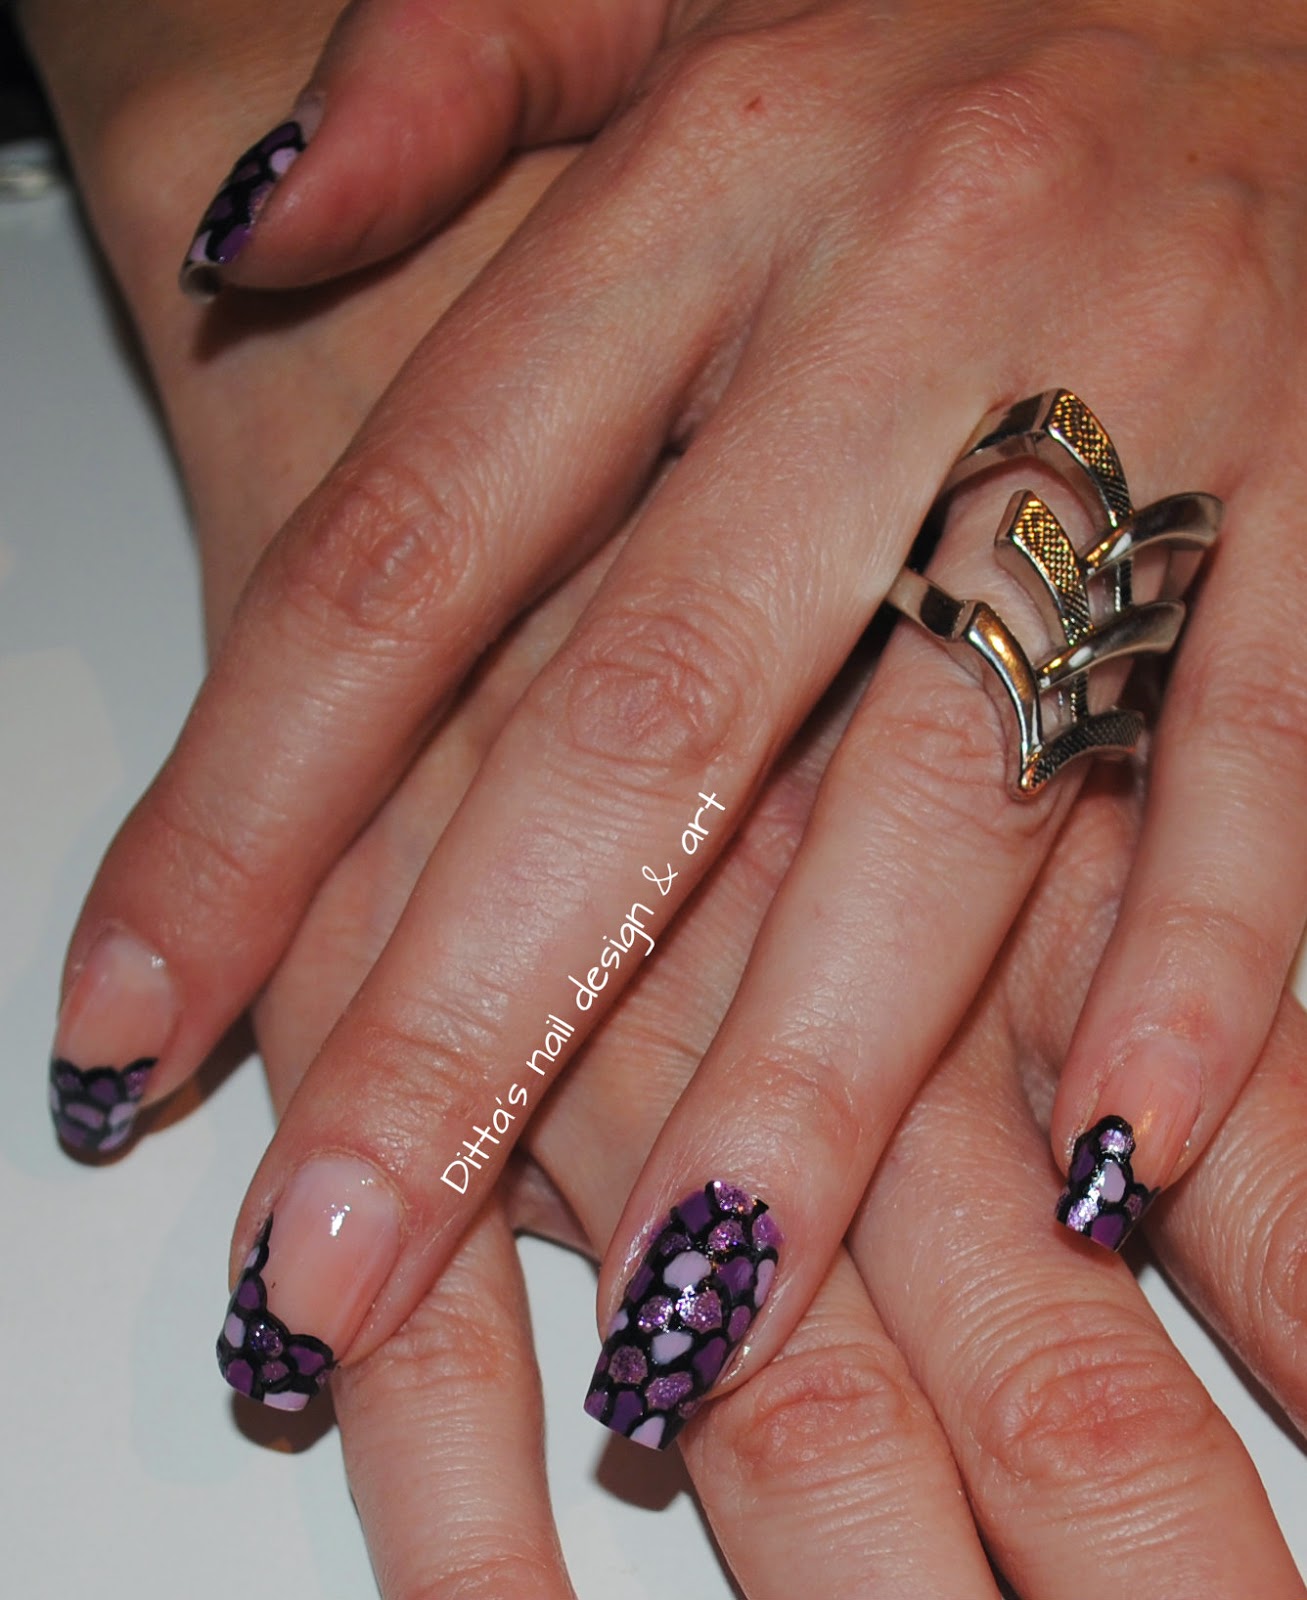
I did this type of mani on my mom friend's nails in different colours. I was inspired by a manicure I saw on Pinterest.
I was thinking of doing this type of colour-block for some time but I was busy doing all sorts of other manis.

I did another colour-block, you can see it HERE .

I've always liked this idea, even in clothes. I think It's a great way to combine colours that maybe you wouldn't normally put together.

I will show you the mani I did. The nail shape and lenght is very different but I like the way it turned out.
What do you think?
Would you wear a mani like that?


After one of my friends saw this mani, she asked me to do a step-by-step tutorial. I said, 'yes, why not?"

I've never done a step-by-step untill now so I thought it was a good idea.

I've decided to do a different colour combo for my step-by-step. I choose black-gold- and a colour I am not very sure how it's called.(it's not a gray nor a beige)

I usually wear a mani for a maximum of 3 days. I liked this mani so much that I wore it for a week.

I really hope you'll like it too and that you'll decide to try it out.

It's a very fun and simple-to-do mani.


I hope this step-by-step will help you out.


I never match my pedi with my mani but I liked this mani so much that I did.
I hope you have a great week-end darlings and I hope you'll enjoy it as much as possible.


Thursday, 17 April 2014

River stone mani 2

Hello everybody!

I know that on Easter everybody buys gifts and stuff but I have a different approach on that!
A friend of my mom had this as a special request for an Easter gift. I really loved doing this mani. 
I really hope you like it! 

I did a small tutorial for this mani. 

Stiu ca de Paste toata lumea cumpara iepurasi de ciocolata si tot felul de cadouri, eu insa, am o abordare diferita. O prietena de-a mamei si-a dorit foarte mult aceasta manichiua drept cadou de Paste.
Sper sa va placa! Am facut si un mic tutorial pentru ea.


I cleaned the nail then applied an "optical white" basecoat for a nice milky look. 
After that, I started painting the nails using a new brush I recieved BornPrettyStore (you can find the brushes Here) and using acrylic paint. I am really pleased with the quality of the brushes.
Am curatat unghia si am aplicat un top coat laptos.
Dupa ce s-a uscat, am inceput sa pictez unghiile folosing o pensula primita de la BornPrettyStore ( puteti sa gasiti pensulele Aici ) si vopsea acylica. Pot sa spun ca sunt chiar foarte multumita de pensule.
After I finished the pattern on all nails I started "filling in the blanks" using a dotter.
Dupa ce am terminat modelul pe toate unghiile am inceput sa umplu "golurile" folosind un punctator.

Add a topacot, clean and we're done!
Topcoat, curatare si manichiura e gata!


Here are the coloures I used: 
What do you think about this mani? Would you wear it?
Cum vi se pare aceasta manichiura? Ati purta asa ceva? :D

Va doresc Paste fericit dragele mele! Sper sa ne auzim cat mai curand.
Dont forget to use this code if you buy from BornPrettyStore.